
After going through the process of malting, lautering, fermenting, filtering, and conditioning your brew, you may still not feel completely satisfied with your beer.
In such instances, you may find yourself looking into various refining processes to improve the flavor and color of your beer.
However, out of all the various methods you can use, some people fail to consider the clarity of the brew as a parameter to test our brew.
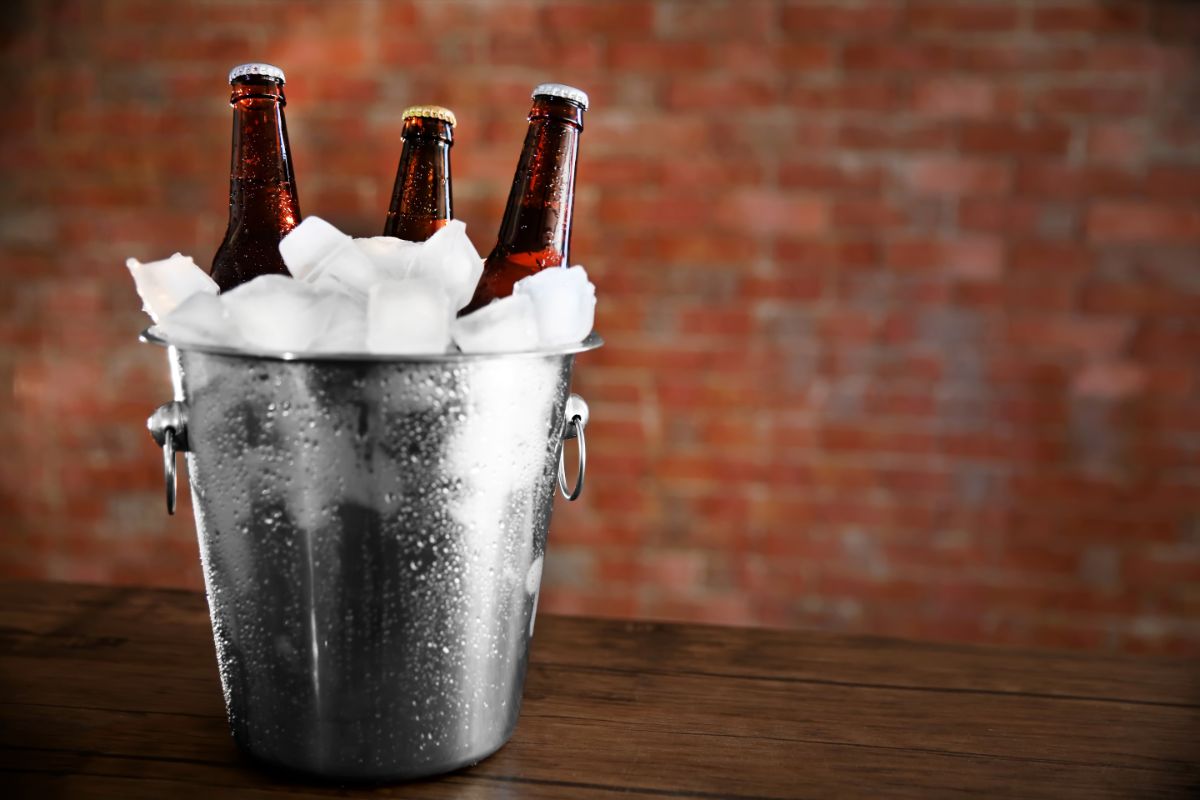
One process that helps to improve the transparency and clarity of your beer is cold-crashing.
This is a simple technique that ensures your wines and beers have a solution that is crystal clear – just like the ones you see on commercials or billboards.
Despite being simple, cold crashing is all about using the right timing and temperature.
Although, before we explore how to cold crash your beer, it is important to understand why this process should be included in your refining process. Allowing you to master the process and enhance your beer-tasting experience.
With this in mind, this guide will explore everything you need to know about cold-crashing beer.
Let’s get started.
Why Should You Cold Crash Beer?
The main purpose of cold crashing your beer is to create a clearer wine or beer that has a more vivid hue and is crispier.
For the best results, you can even consider adding gelatin finings during the process to make your brew even more clear.
Even though appearance and clarity are the main benefits of the process, it can also help to make an enhanced racking process, too.
Here, most of the particles that would block the dip or siphon tube have sunk to the bottom, due to suspension.
This is especially beneficial for dry hop beers which would otherwise contain a considerable amount of particles and hops in suspension.
When To Cold Crash Beer?
Similar to adding cask finings, cold crashing is achieved once the beer is fermented and before it becomes bottled.
The process involves lowering the beer’s temperature which forces the substances in the beer to settle and coagulate, leaving the liquid clear.
Before bottling your beer, you should aim to cold crash it between two and three days prior. This enables plenty of time to work with the beer and reduces the risk of debris getting in.
Make sure not to start the process until you have completed fermentation. Here, you’ll want to use a hydrometer to check the gravity of your beer and to make sure it is stable.
In fact, some brewers recommend not starting the process until at least a week after brewing. This provides plenty of time for the remaining yeast to remove any “off” flavors.

Best Ways To Cold Crash
Avoid Oxidation While Cold Crashing
One of the best methods you can use to cold crash your beer is simply purchasing a CO2 Harvester Kit from NorthCal Brewing Solutions.
While the price may seem somewhat steep, it ensures that the only thing that gets vacuum sucked during the fermentation process when cold crashing is CO2.
If you enjoy beer, it is a small price to pay to ensure better beer and peace of mind.
Here, the CO2 that is being produced during active fermentation is placed in a mason jar. It is sucked back into the fermentor ready for cold crashing.
Ferment in Kegs
If you have kegs, you can use these to ferment, too! Once your fermentation is nearly done, all you have to do is replace the pressure relief valve.
Once sealed, you can cold crash your beer without worrying about any environmental air entering the vessel.
After you have achieved cold crashing, simply perform a closed transfer from the fermentation keg to the purged and sanitized serving keg.
Although, the only drawback to this method is that you get less beer. Therefore, you’ll have to juggle the question or whether you’d prefer better beer or more beer.
Even with a decrease in volume, fermentation in kegs is an underutilized method that can be used to reduce the chances of cold-side oxidation almost entirely.
This doesn’t only mean oxidation from cold crashing but also from transferring your beer during packaging.
Hence, if you can go over the “more is better” syndrome, then you’ll want to try out this cold crashing method.
Homemade CO2 Capture Method
This next process was created by Marshal Schott which he calls The BrüLoonLock method. Essentially, all it is is a mylar balloon that is taped to a bung.
Here, during the end of the fermentation process, you simply have to throw your balloon onto your fermentor. The result is a bag filled with CO2 and ready to cold crash.
That said, there is one major drawback when it comes to this less-than-elegant design: you have to make sure you have time to fit it into the fermentor perfectly.
Otherwise, it will simply blow off the fermentor. While this isn’t dangerous, it can get pretty annoying!
Likewise, if you have a keg, you can fill a balloon with CO2 straight from the tank. Then all you’d have to do is fit it to a bung and place it in your fermentor before cold crashing – it is cheap and easy!
Moreover, if you’re looking to move from a fermentor with a spigot at the bottom you can achieve this with much exposure to oxygen.
That said, you will need to make sure you’re continuously topping up your balloon with CO2 as you’re transferring – unless that balloon is great that is.
Final Thoughts
If you have followed all the steps to brewing your brew but are left with less than satisfactory results, then you may want to look at cold-crashing your beer.
This is achieved after the fermentation process and ensures you’re awarded clear beer that is identical to the ones in commercials.
Hopefully, this guide has informed you on everything you need to know about cold crashing beer.
Inspired by my love for brewing, I started this site with my friend Derek. We travel, discover unique beers, and share our experiences and recommendations. Join us in exploring our favorite beers and breweries. Enjoy our site as we share our passion with you!
- StockHouseBrewing.com is being acquired by MomentumBrewHouse.com - October 24, 2023
- MomentumBrewHouse.com Acquires EmpiricalBrewery.com - August 31, 2023
- How Many Calories Are In A Bottle Of Beer? - May 24, 2023